
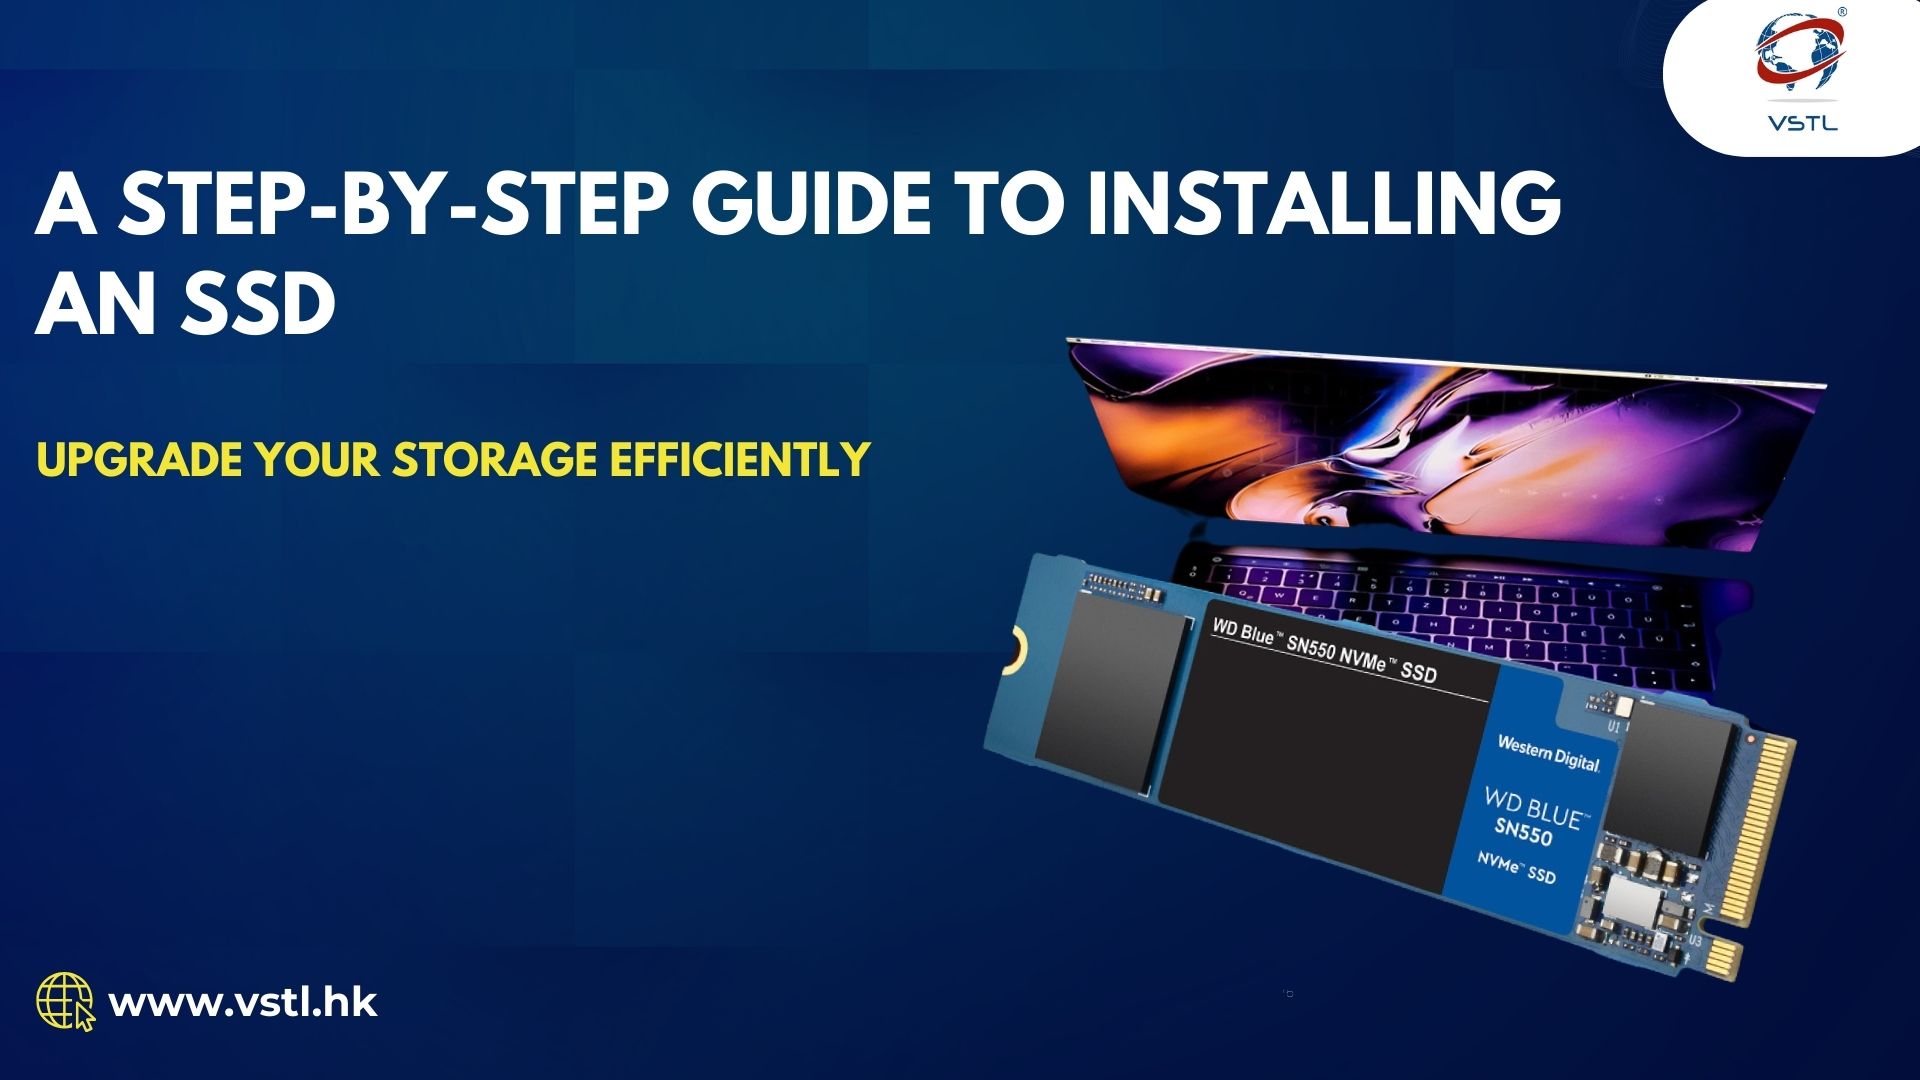
In the fast-paced world of technology, upgrading to a Solid-State Drive (SSD) has become a game-changer for those seeking improved speed and performance from their computers. If you’ve decided to make the leap and enhance your system with an SSD, you’re on the right path. In this step-by-step guide, we’ll walk you through the process of installing an SSD, ensuring a smooth transition and optimal performance for your device.
Step by Step Guide To Install An SSD
Step 1: Backup Your Data
Before diving into the installation process, it’s crucial to safeguard your data. Create a backup of all important files and documents to prevent any potential loss during the upgrade. You can use an external hard drive, cloud storage, or a reliable backup software to ensure your data is secure.
Step 2: Gather Necessary Tools and Components
Make sure you have all the tools and components required for the installation. The basic tools you’ll need include a screwdriver (either Phillips or flat-head, depending on your device), and an anti-static wrist strap to protect your SSD from electrostatic discharge. Additionally, ensure you have the SSD itself, appropriate cables, and any necessary adapters.
Step 3: Identify an Open Slot for the SSD
Determine the available slots in your device where the SSD can be installed. In desktop computers, this is usually a bay near your existing hard drive. For laptops, you might need to check if there is an extra slot for the SSD, or if you’ll be replacing the existing storage.
Step 4: Power Off and Disconnect
Before opening your device, power it off completely and disconnect it from any power source. For laptops, this also involves removing the battery to eliminate any electrical charge. This step is crucial to avoid potential damage to your device or yourself during the installation process.
Step 5: Locate and Remove the Existing Drive
If you’re replacing an existing hard drive with the SSD, locate and remove the screws securing the drive in place. Gently disconnect any cables attached to the drive and carefully slide it out. In the case of a desktop, you might need to remove the side panel to access the drive bays.
Step 6: Mount the SSD in the Drive Bay
Take your SSD and align it with the mounting holes in the drive bay. Secure the SSD in place using the screws provided, ensuring a snug fit. Some cases may have tool-free mounting systems, making this step even more straightforward.
Step 7: Connect Cables
Connect the necessary cables to the SSD. For a desktop, this usually involves attaching a SATA data cable to the SSD and connecting it to an available SATA port on the motherboard. Power is supplied through a SATA power cable from the power supply unit. In laptops, ensure the SSD is properly connected to the motherboard.
Step 8: Secure the SSD in Place
Once the cables are connected, secure any loose cables with zip ties or cable management systems. This not only ensures a tidy interior but also prevents interference with cooling components.
Step 9: Close Up and Power On
If you had to remove the side panel of your desktop or any other cover, securely reattach it. For laptops, reinsert the battery if you removed it. Power on your device and ensure that it recognizes the newly installed SSD. If your computer doesn’t detect the SSD, double-check your connections and ensure the drive is properly seated in its slot.
Step 10: Initialize and Format the SSD
Once your computer recognizes the SSD, you’ll need to initialize and format it. In Windows, you can do this through the Disk Management tool. Open the tool, locate your new SSD, right-click, and select “Initialize Disk.” Follow the prompts to format the SSD with the desired file system (usually NTFS). For macOS users, you can use the Disk Utility tool to format the SSD.
Step 11: Restore Your Data
With the SSD successfully installed and formatted, it’s time to restore your data from the backup you created in Step 1. Copy your files back onto the SSD, ensuring a smooth transition from your old storage device.
To fully harness the power of your new SSD, consider optimizing your system settings. Disable features like Superfetch and Prefetch on Windows, and enable TRIM support for macOS. These adjustments help maximize the lifespan and performance of your SSD.
Congratulations! You’ve successfully upgraded your system with a new SSD, unlocking faster boot times, improved application loading speeds, and an overall enhanced computing experience. Taking the time to follow these steps ensures a smooth installation process and sets the stage for a more efficient and responsive computer.
In conclusion, installing an SSD might seem like a daunting task at first, but with the right guidance, it’s a manageable and rewarding upgrade. As technology continues to advance, SSDs play a crucial role in elevating the performance of our devices. Whether you’re a casual user or a dedicated gamer, the benefits of an SSD are well worth the investment. Upgrade your storage, follow these steps, and enjoy a faster, more responsive computing experience.
Best Bulk SSD SUPPLIER IN WORLD
 For a decade, VSTL has been at the forefront of delivering unparalleled SSD solutions, establishing itself as the preeminent bulk brand new & Pulled SSD supplier globally. Our extensive inventory includes a diverse range of SSD types – from the traditional 2.5” to the space-efficient M.2 NGFF, high-performance M.2 NVMe, and the versatile mSATA. With a decade of specialized experience in supplying SSDs for laptops and desktops, VSTL has earned its reputation as a reliable industry leader.